

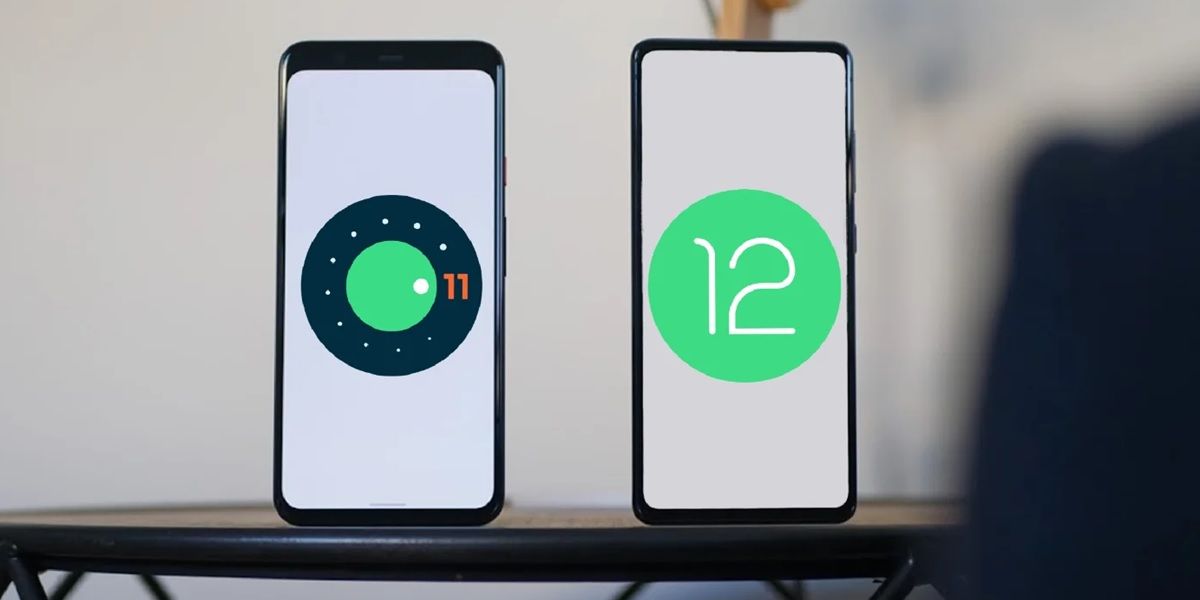
Are you on Android 12 and want to go back to Android 11? we understand you Although Android 12 adds new features and changes a bit how the operating system looks and feels, you may still prefer Android 11 out of habit or because you didn’t like the changes . And if you updated to Android 12 unofficially, it most likely has bugs and doesn’t work well, which is why you want to downgrade.
Be that as it may, our duty in this type of situation is to help you. Therefore, here we have prepared a guide to downgrade from Android 12 to Android 11 . First, we’ll answer some questions you might have about this procedure, go over things to keep in mind, and finally walk you through how to get back to Android 11 step-by-step. Are you ready? Let’s go there…
Everything you need to know before downgrading from Android 12 to Android 11
When making a downgrade, there are a number of things that you must take into account if you do not want your mobile to end up bricked. And it is that, returning to a previous version of Android, is not as simple as updating . But do not be scared, it is not something impossible to do either. In any case, it is important that you read all the points in this section.

Is it possible to go back to Android 11 from Android 12?
If possible. If you now have Android 12, but before you had Android 11, then you can go back to the previous version. You just have to flash an older Android image on the mobile . Of course, on the way you must do several things: make a backup of your mobile, reset it to factory, unlock the bootloader, restore the backup, etc.
And it is crucial to follow each and every one of the steps, otherwise you could lose everything you have on Android or even make your mobile unusable. So follow this guide with the utmost care and at your own risk .
What to know when downgrading Android?
Here we have made a list with the things that we think it is appropriate for you to know about the Android downgrade process. Take a look because they are important:
- You will lose the warranty of your mobile by downgrading it.
- Going back to a previous version of Android will erase all the data on your phone . This includes both Android and app settings data, as well as anything you’ve saved to internal storage. That is, your photos, videos, documents, music, etc. will be deleted.
- By default, your Google account will back up some data : contacts, photos, device settings, SMS and call history.
- Do you want to check if Google has already created a backup of your mobile? Go to Settings > Google > Backup . Activate this option and create a backup now.
- Many applications automatically back up your settings . So you don’t have to worry about backing up your data. This only applies to those that work with cloud services, such as social networks.
- There are other apps, such as WhatsApp, that allow you to create a specific cloud backup for them from their own settings. Thus, you can easily restore them with the press of a button when opening the app after downgrading. If you are interested, check out this article on how to set up WhatsApp backup so you don’t lose your chats.
- You can only downgrade if your mobile manufacturer allows it . And it is that to do this you must modify the firmware, unlock the bootloader, manually flash an Android image and do other things that not all smartphone brands allow you to do.
- Almost all major Android brands allow it, but without a doubt Google is the one that makes it easier.
- However, it is imperative that you have a carrier unlocked version of the phone . Otherwise, it will be impossible to downgrade regardless of the brand.
- It’s much harder to downgrade when there are no stock Android images for your mobile . Brands such as Samsung, LG, Motorola, among others, do not publicly share the Android images necessary to return to an old version of the system.
- If this is your case, you will have to search for the image for your mobile on third-party pages (with the risk that this implies). Even if you find it, you may also need to change the bootloader and other system elements that the new version changed.
- Don’t know where to find the factory image of your Android to downgrade? Here we leave you the repositories that we found of the main brands:
- Google Pixel and Nexus (official) .
- OnePlus (official) .
- Samsung Galaxy (unofficial) .
- Xiaomi (unofficial) .
- OPPO (official) .
- Realme (official) .
- Assorted brands (unofficial) .
- Remember that you must download the exact firmware for the specific model of your mobile.
Things to make sure of before going back to Android 11
Do you already have everything you need to downgrade? Wait a minute. You will only be 100% prepared if you have done all of this:
- Make a backup of your mobile with Google (only the settings of the applications, contacts, SMS, the general configuration of the device and the call history will be saved).
- Turn on Google Photos backup to back up your videos and photos . So you can easily restore them later. Don’t have space in Google Photos? In this other article we show you how to have unlimited space for your photos without Google Photos.
- Have a Windows or Mac computer handy and a USB cable to connect your phone to it.
- The files saved in the storage of your Android transfer them to your PC or to Google Drive.
- Download the Android 11 image for your specific mobile model . The guide below is based on Google Pixel, but the steps are similar for any other Android smartphone.
How to go back from Android 12 to Android 11
The moment of the truth has come. These are the steps to follow to downgrade from Android 12 to Android 11:
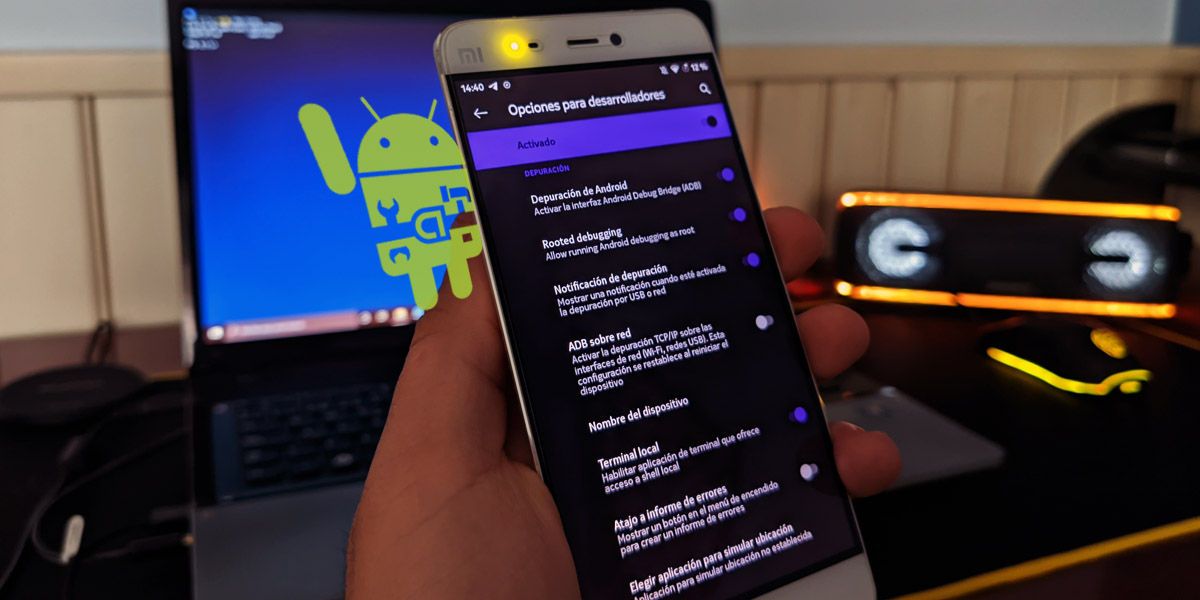
- Turn on USB debugging on your device.
- In Settings > Developer Options, turn on OEM Unlock as well.
- Now you need to install ADB and Fastboot on your PC. There are many ways to do it, but we recommend the official one, which consists of downloading the Android SDK Platform Tools ZIP file from these links (only download the one that corresponds to the PC you have):
- Unzip the ZIP file with a tool like 7-Zip and move the “platform-tools” folder to an easily accessible location on your PC.
- Also extract the Android 11 factory image (which must be the one specific to your device, otherwise you will brick it) and move all its contents to the main “platform-tools” folder.
- Now, connect your mobile to PC with its USB cable and make sure it is recognized. If not, download the USB drivers for your mobile and install them on the PC.
- oh! And do not forget to accept USB debugging when the notification appears on your mobile after connecting it to the PC.
- Next, open the Terminal of your PC :
- On Windows, you can do this by opening the “Run” application (search for it in Windows Finder) and typing “cmd” (without quotes) into it.
- On Mac, go to Applications > Utilities and double-click Terminal.
- The next thing will be to enter in the Terminal the command “cd” followed by the path of the “platform-tools” folder. That is, if you have the folder on the desktop, the command you will enter is this: cd C:/Users/your-name-on-the-PC/Desktop/platform-tools .
- To verify that you’ve done everything right so far, enter the following command:
- On Windows: adb devices .
- On Mac: ./adb devices .
- If your phone is connected correctly, its serial number should appear on the screen.
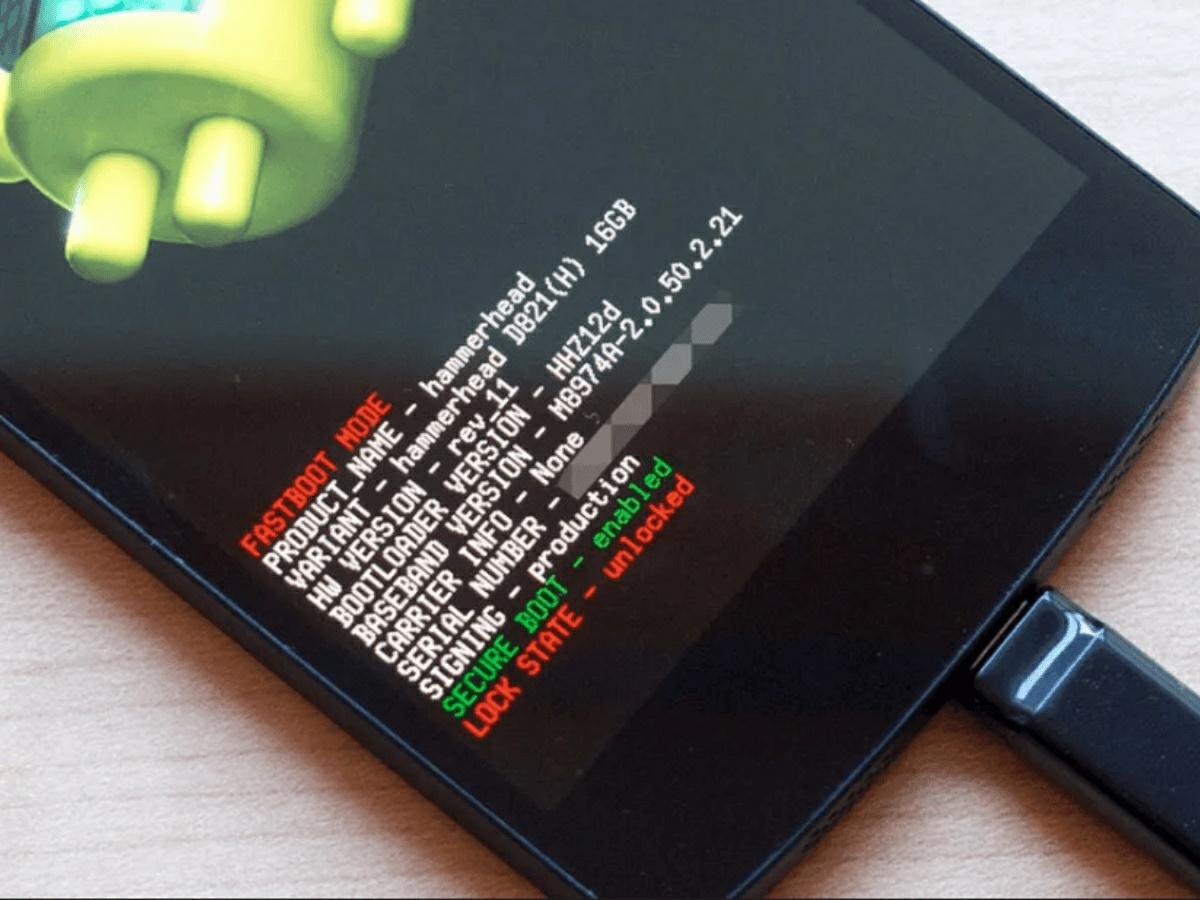
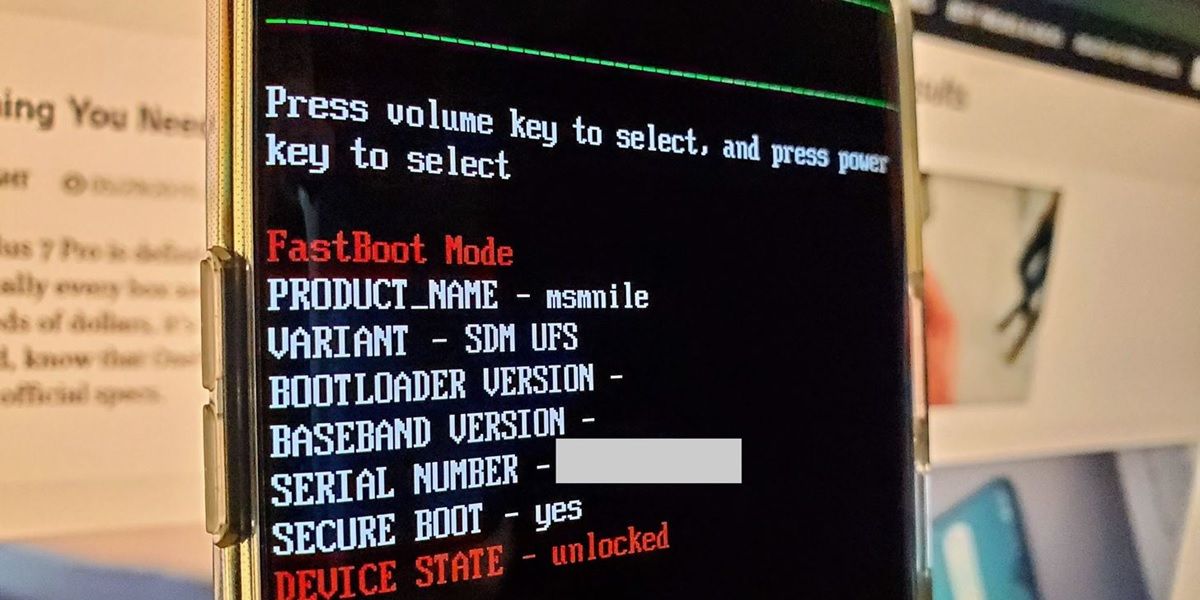
- Everything’s fine? Then proceed to enter Fastboot on your mobile like this:
- Simultaneously press the Power + Volume Down buttons until the Android error icon appears.
- Simultaneously press the Power + Volume Up buttons and release the Volume Up key.
- Clever! If you can’t get into Fastboot this way, then use these commands to get in: adb reboot bootloader (Windows) | ./adb reboot bootloader (Mac) .
- Then unlock the bootloader with this command:
- On Windows: fastboot flashing unlock .
- On Mac: ./fastboot flashing unlock .
- After entering the above commands, using the volume buttons of your phone select the option to unlock the bootloader and then confirm the action by pressing the power button. This will erase all data on your device and it will reboot.
- After restarting, type this command:
- On Windows: adb reboot bootloader .
- On Mac: ./adb reboot bootloader .
- With the bootloader unlocked and restarted, you can now install Android 11 on your mobile with the factory image downloaded. How? In the Google Pixel you just have to enter this command:
- On Windows: flash-all .
- On Mac: ./flash-all.sh .
- Do not close the Terminal neither during nor after the installation to avoid problems.
- When the Android 11 installation is complete, you’ll see a confirmation message. At that time you can disconnect your mobile from the PC .
- Although it is already possible to start the mobile configuration from scratch, the best thing you can do now is to lock the bootloader again to continue receiving official Android updates. If you are not interested in receiving updates, you can skip the following steps and start using the mobile.
- To block the bootloader, connect your mobile to the PC again and in the Terminal enter this command:
- On Windows: adb reboot bootloader .
- On Mac: ./adb reboot bootloader .
- After it reboots, type this:
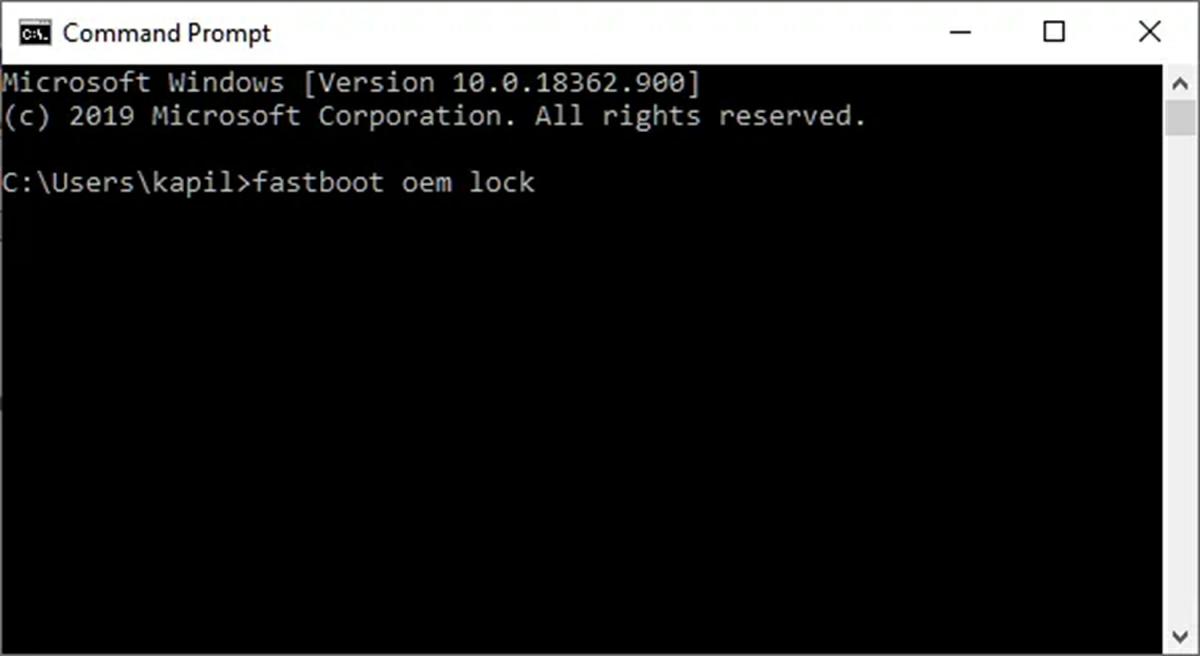
- On Windows: fastboot flashing lock .
- On Mac: ./fastboot flashing lock .
- Finally, manually lock the bootloader by choosing the option to do so with the physical buttons of the mobile.
- Now yes, disconnect and close everything. Restart your phone, start setting up Android 11 and restore all your data .
That is all! We hope that this guide has been useful for you to return to Android 11. Do not forget that some steps shown here may change depending on the brand of your mobile , so we recommend that you check each step at least twice before proceeding.
