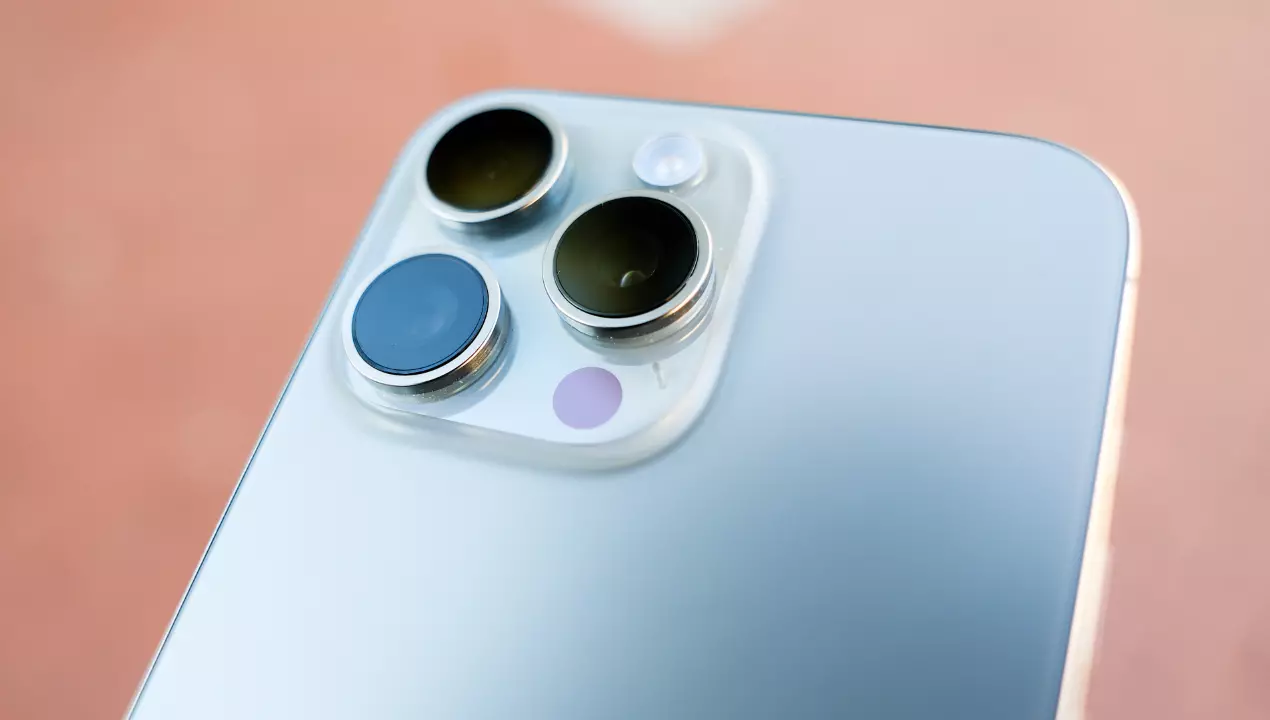
The iPhone’s camera capabilities are consistently ranked among the best in the market, thanks to innovative features like portrait mode and photographic styles. While default settings work well for many users, exploring additional settings and traditional photographic techniques can help you capture the perfect shot and improve your composition. In this post, we’ll delve into some of these settings to enhance your iPhone photography skills.
1. Embrace the Rule of Thirds
The iPhone’s Camera app offers a valuable tool called the grid, designed to help you apply the rule of thirds for better composition. This grid divides your photo area into nine equal parts using two horizontal and two vertical lines, creating a visually harmonious composition. To enable the grid:
- Unlock your iPhone and access the Settings app.
- Scroll down and tap on “Camera.”
- In the “Composition” section, toggle the switch next to “Grid” to activate it.
It’s worth noting that the rule of thirds is distinct from ensuring your camera is level. iPhones equipped with advanced stabilization technology will indicate if the camera is not correctly positioned.
2. Harness Burst Mode
Burst mode is a valuable feature that allows your iPhone to capture a rapid series of photos, snapping up to ten shots per second. This can significantly increase your chances of capturing the perfect moment. To activate burst mode:
- Simply press and hold the volume up button while in the Camera app.
- The iPhone will capture a sequence of photos in quick succession.
- A counter will appear within the shutter button, showing the number of shots taken.
Images captured in burst mode are stored under the “Bursts” category in the Photos app and can also be found in your primary photo library.
3. Explore Beyond the Frame
Starting from the iPhone 11 onward, Apple introduced the option to see outside the frame while taking photos and videos. This feature is particularly useful for ensuring proper alignment without needing to crop your shots.
With “View outside the frame” enabled, your iPhone captures images simultaneously using a wider field of view when utilizing wide-angle or telephoto lenses. To activate this feature:
- Unlock your iPhone and navigate to Settings.
- Select the “Camera” option.
- In the “Composition” section, toggle the switch next to “View outside the frame.”
4. Selfie Reflections
By default, the iPhone’s Camera app mirrors selfies, presenting them as inverted versions of the preview image. This can be disorienting since it results in flipped photos that differ from the selfie you see while capturing it. You can adjust this setting to reflect your selfies as they appear in the preview and on social media:
- Open the Settings app on your iPhone.
- Scroll down and locate the “Camera” section.
- Activate the “Front Camera with Mirror” switch to display selfies in their natural orientation.
With these four straightforward modes and settings, you’ll elevate your iPhone photography skills and capture stunning, professional-looking photos without the need for extensive manual adjustments.
